Reverse a Donation
Use the following instructions to reverse a single donation that has been entered into the software. Reversing a donation will essentially delete the donation you selected.
Note the difference:
If you need to reverse the entire batch of donations, be sure to follow the instructions in Reverse Posted Batches instead of the instructions below. If you need to alter or correct individual donations in the batch, you need to Correct a Donation instead. If you need to correct the date or code of an entire batch of donations, you need to Correct Posted Batches instead.
- Click Donations in the Button Bar at the top of the screen
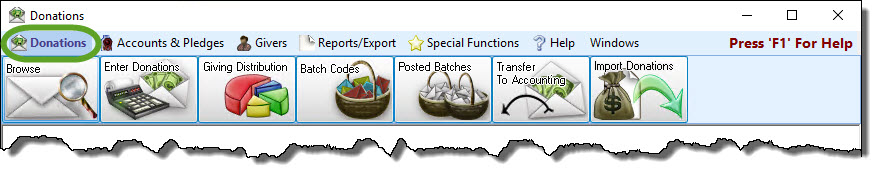
- Click the Browse button from the menu options underneath:

- This opens the Browse Donations screen:
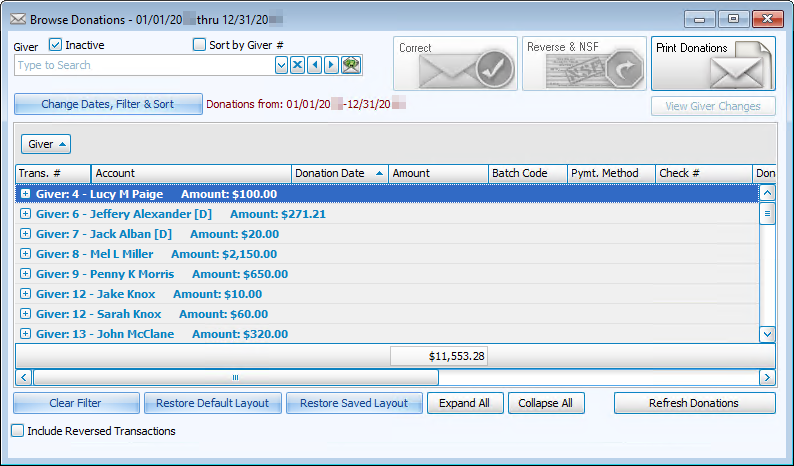
- Use the Donation Browser Options to locate the donation that you want to reverse and click the line that identifies that donation.

- Click the Reverse/NSF button in the top right area of the screen:
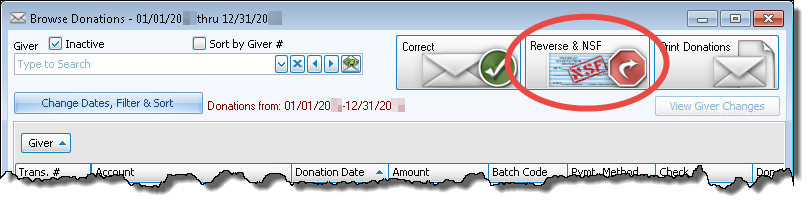
Note:
Reversals are used in place of deletions, this allows an iron-clad audit history to be maintained. Reversing a transaction is permanent; it is not possible to reverse a reversal. - The Reverse Donation screen appears and gives you the following options:

Recommended tab:
- Date occurred from original transaction: Click to mark the
 radio button next to this option if you would like the reversal transaction to contain the same date as the donation originally posted. This is the recommended method as to not affect earlier or later balances and/or bank reconciliation amounts.
Advanced Options tab: Clicking on this tab will let you choose any other date for the reversal to take affect.
- Today: Click to mark the radio button next to this option if you would like a reversal transaction for the reversed donation to contain today's date.
- Other date: Click to mark the radio button next to this option if you would like a reversal transaction for the reversed donation to contain a different date. Then, click the
 dropdown button and select the desired date.
- Date occurred from original transaction: Click to mark the
- In the Donation Comments for Reversing Transaction field, enter a brief description for future reference into this field explaining why you are getting rid of this donation.
- If you are reversing the donation due to NSF reasons, place a checkmark in the Reversed due to non-sufficient funds (NSF) box.

- Click the OK button and a message will prompt you to verify the permanent reversal of the donation.
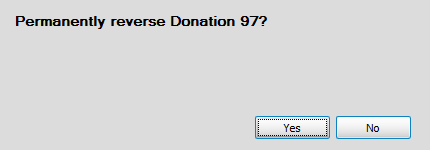
- Click Yes and a message will show you a confirmation that the donation was reversed.
- Click OK and the message will disappear.
- Repeat Steps 4-11 if you need to reverse additional donations.
If afterward, you would like to view your transaction reversals, make sure that you take note of the transaction numbers. You can then look up the transactions by Transaction # on the Browse Donations screen.
